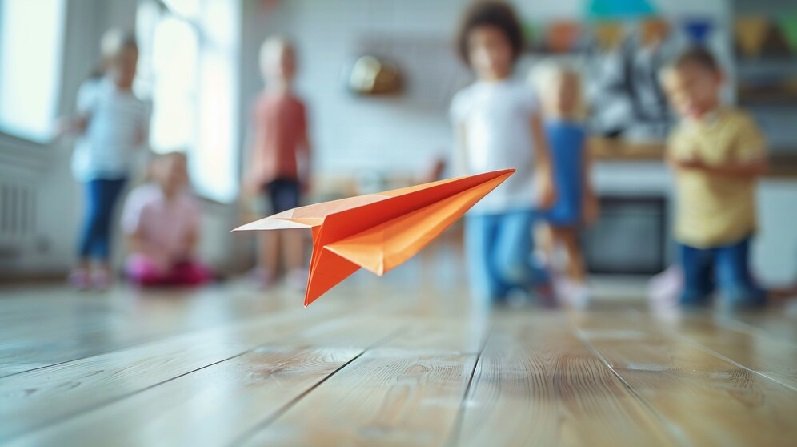
how to make a paper airplane jet
Introduction: how to make a paper airplane jet
Paper airplanes are a beloved pastime for children and adults alike. Making a paper airplane jet is not only fun but also a great way to learn about aerodynamics. In this guide, we will provide a step-by-step process on how to create a sleek and fast paper airplane jet that soars through the air with ease. Follow these instructions closely, and you’ll be flying your paper jet in no time how to make a paper airplane jet.
Materials Needed
Before we begin, gather the following materials:
- Standard A4 or Letter-sized Paper: Any color or type, though standard printer paper works best.
- Flat Surface: A table or desk for easy folding.
- Patience and Precision: Folding accuracy is key to making a great paper airplane jet.
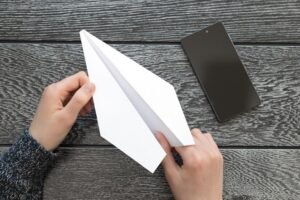
Step-by-Step Instructions
1. Fold the Paper in Half Lengthwise
Start with your piece of paper in a portrait orientation. Fold it in half lengthwise, creating a crease down the center. This crease will serve as a guide for subsequent folds. Open the paper back up so you can see the crease how to make a paper airplane jet.
2. Create the Nose
Fold the top corners down to the center crease, forming two triangles. This will create a point at the top of the paper, resembling a house. Ensure that the edges are aligned perfectly with the center crease for a sharp nose how to make a paper airplane jet.
3. Shape the Wings
Fold the top edges to the center crease again. You should now have a taller, narrower triangle. Make sure the folds are crisp and the edges line up perfectly with the center crease how to make a paper airplane jet.
4. Form the Body
Fold the paper in half along the initial crease, bringing the two sides together. You should now have a long, narrow shape with a pointed nose at one end. Ensure that all edges are aligned neatly how to make a paper airplane jet.
5. Create the Wing Flaps
Fold the top layer of each side down to the bottom edge. These folds will form the wings of your jet. The wings should be angled slightly upwards to help with lift. Make sure the folds are even on both sides to ensure balanced flight how to make a paper airplane jet.
6. Final Adjustments
To ensure your paper airplane jet flies smoothly, make small adjustments to the wings and body. Bend the rear edges of the wings slightly upwards to help with lift and stability. If the plane veers to one side, make tiny tweaks to the wings or body to correct its flight path how to make a paper airplane jet.
Advanced Tips for Enhanced Performance
Optimizing Aerodynamics
For a paper airplane jet to fly far and fast, its aerodynamics must be optimized. Ensure that all folds are sharp and precise, as even small imperfections can impact flight performance. Additionally, experimenting with different wing angles can help you find the optimal configuration for speed and distance.
Adding Weight
If your paper airplane jet is too light and unstable, consider adding a small weight to the nose. This can be done by folding a small piece of tape or paperclip onto the nose. Adding weight can improve stability and allow the plane to fly in a straighter line.
Creating Variations
Experimenting with different designs can lead to even better performance. Try varying the size and shape of the wings, or adding flaps to the tail for additional control. Each variation will have different flight characteristics, providing endless opportunities for learning and fun how to make a paper airplane jet.
Troubleshooting Common Issues
Plane Dives Quickly
If your paper airplane jet dives quickly, the nose might be too heavy. Try adjusting the weight or angle of the wings to balance the plane better. Additionally, ensure that the folds are symmetrical and the wings are evenly aligned how to make a paper airplane jet.
Plane Veers to One Side
If your plane veers to one side, check that both wings are the same shape and angle. Small asymmetries can cause uneven flight. Make minor adjustments to the wings or body to correct the flight path.
Plane Doesn’t Fly Far
If your plane isn’t flying far, it might need more lift. Adjust the angle of the wings upwards slightly to increase lift. Additionally, ensure that your throws are smooth and not too forceful, as a gentle toss can sometimes result in better flight.
The Science Behind Paper Airplanes

Understanding Lift and Drag
The success of a paper airplane jet depends on the balance of lift and drag. Lift is the force that allows the plane to rise and stay in the air, while drag is the resistance that slows it down. By optimizing the design of your paper airplane, you can maximize lift and minimize drag, resulting in longer, more stable flights.
The Role of Center of Gravity
The center of gravity is crucial for the stability of your paper airplane jet. If the center of gravity is too far forward or backward, the plane will be unstable. Proper folding and weight distribution help maintain an optimal center of gravity, ensuring smooth and balanced flight.
Conclusion
Creating a paper airplane jet is a rewarding and educational experience that combines art, science, and fun. By following these detailed instructions and tips, you can craft a paper jet that not only looks impressive but also flies exceptionally well. Gather your materials, follow the steps precisely, and enjoy the thrill of watching your paper airplane jet soar through the air.